

How to make your crafting model look perfect
Thank you for choosing our crafting model from the ARCHITECTURE With Sauce series. The models present a fun and satisfying challenge for young and old. With these instructions, Kirill offers you some tips for the best results.
Paper thickness
Let us start with the paper type. You will need Letter or A4 size paper, depending on the model, with a slightly greater thickness than the paper you normally use for documents: 120 to 170 grams. The thicker the paper, the easier the model is to build. Above 170 grams assembling it becomes difficult.
We recommend a laser printer for printing out the crafting model. An inkjet printer can have trouble printing the thin lines, especially if it has not been used for a while. Make sure to select the paper size that matches the model you downloaded, Letter or A4.
If you have difficulties printing at home, you can print the crafting model at a friend's place or at the nearest copy shop.
Tools
What you need
- Scissors
- Glue
- Paper knife
- Ballpoint pen or bone folder
- Ruler
Useful to have
- Tweezers
- Adhesive tape instead of glue
- A firm surface to work on
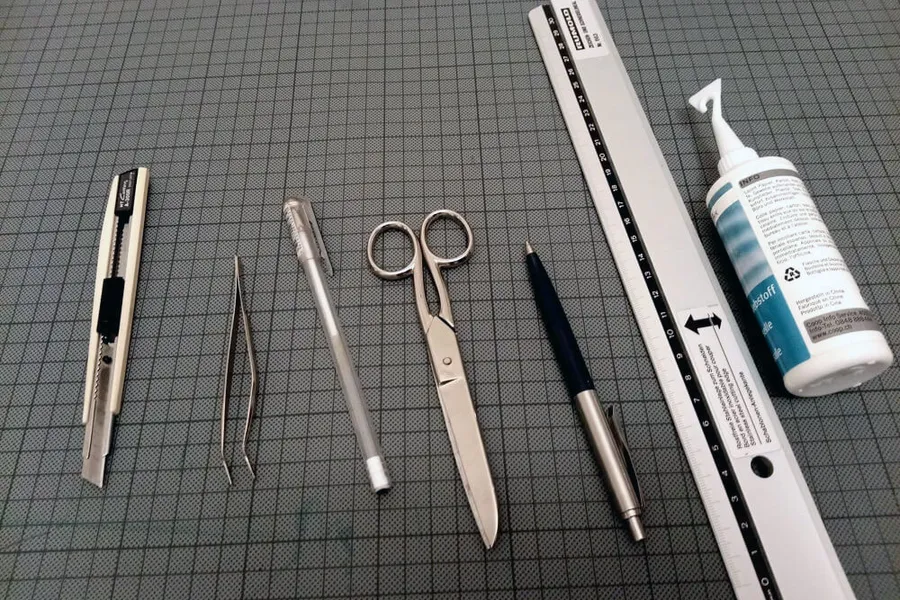
A paper knife or a sharp scoring blade is one of the most important utensils besides scissors and a ruler. The paper knife enables you to cut the smallest details precisely. Tweezers are useful for bending small folds.
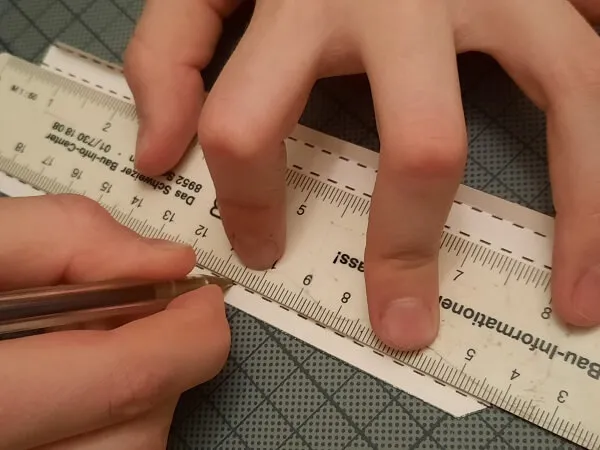
If you have a dried-out ballpoint pen lying around, instead of a bone folder, now you have a great excuse for holding onto it. With the ballpoint pen tip you can crease the edges on the paper better. The ruler helps to smooth out the edges and to bend the long edges precisely.
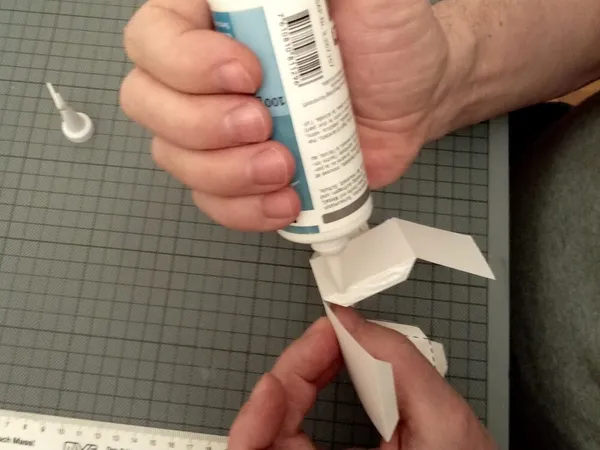
And last but not least, the glue. We recommend using white paper glue or, if necessary, transparent adhesive tape. If you use tape, stick it from the inside of the model if possible, so that the tape remains hidden.
Five steps to the perfect model
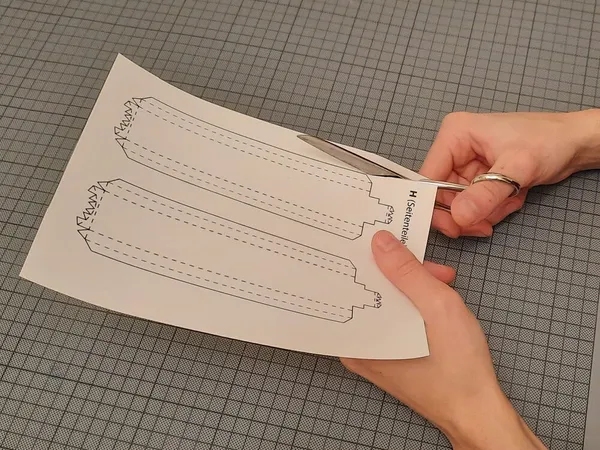
Step 1: Cutting
First cut out the crafting model only along the outer lines. Do not cut out the small corners straight away; cut out the large areas first.
Step 2: Put everything in order
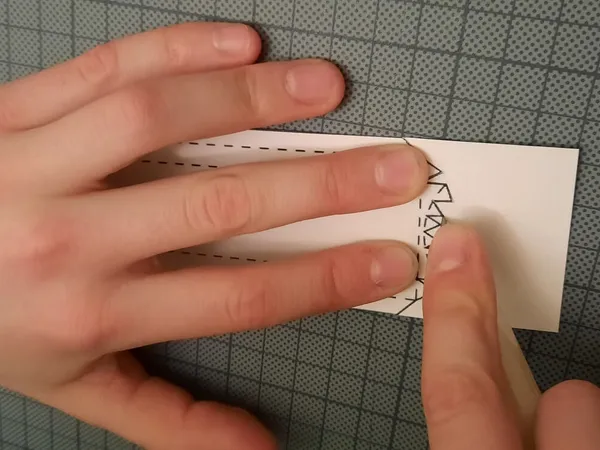
Put the cut parts of each model together and label them. In some of the models there are also lines that run within the border of the cut-out model lines. These are only intended as decoration and should not be cut out. Now cut the fine lines with the paper knife.
Step 3: Crease the parts
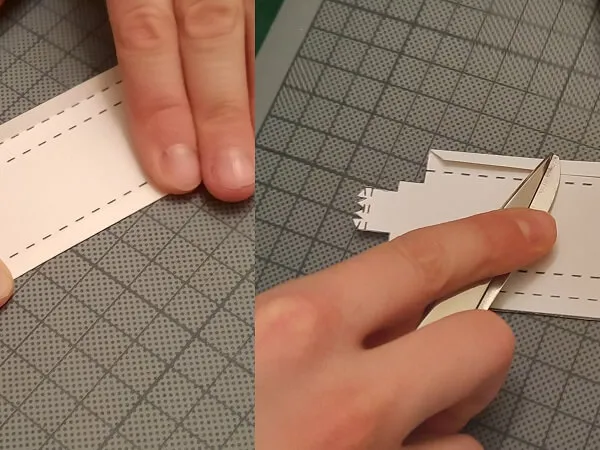
Use scissors or a ballpoint pen to crease along the dashed lines.
Step 4: Score and fold
Scoring will help you fold the paper. Now bend the corners and pull over again with the back of the scissors.
Step 5: Glue it together
Bend the small spots with special care. You can use the paper knife or the tweezers. Finally glue the corners together. With some crafting sets it helps to assemble only part of the model first and glue the remaining pieces hours later.
You made it
If you have found further tricks and think others can benefit from what you learned, write to us at hello@craftingmodels.com.